
How to Plan an Outdoor Living Room in Minneapolis: A Step-by-Step Process Guide
Summary
This guide from Southview Design walks Minneapolis homeowners through the seven steps required before breaking ground on an outdoor living room project. Most outdoor living room projects in the Twin Cities stall not because of budget, but because homeowners do not know how to design outdoor living spaces in the right sequence. This post covers site assessment, use-case definition, Twin Cities permit requirements, hardscape material selection for freeze-thaw conditions, drainage and grading for Minnesota clay soil, budget-setting, and partner evaluation — in the order those decisions actually need to happen.
Key Takeaways
• Start with the site, not the design. Sun orientation, wind direction, grade, and drainage determine what outdoor living space design is actually possible on your lot before any element selection begins.
• Define how you will actually use the space, not how you hope to. The use case — intimate entertaining, family daily use, large-scale hosting, or quiet retreat — drives size, material selection, and element choices more than any other factor.
• Permits add 2–8 weeks to the project timeline in most Twin Cities municipalities. Structures, gas lines, electrical work, and shoreline proximity all trigger separate permit requirements. Start in winter for a summer installation.
• Poured concrete is the wrong material choice for Minneapolis patios. The Twin Cities averages significantly more than 30 freeze-thaw cycles per year. Concrete pavers with a properly engineered ICPI-standard sub-base are the correct primary surface.
• Drainage is the step homeowners most commonly skip and later regret. A flat patio with no slope collects standing water during Minneapolis wet springs and summer storms. Clay-heavy soil across the western suburbs makes this failure mode faster and more visible.
• Set a budget range with a firm upper limit. Outdoor living room projects expand in scope during the design phase as homeowners see what is possible. A firm ceiling prevents mid-project conflict.
• The integrated design-build model eliminates the most common failure mode. When the same team designs and builds the outdoor living space, drainage slopes, base depths, and structural details remain intact during the translation from drawings to installation.
Topics Covered
How to design outdoor living spaces in Minneapolis · Outdoor the planning process step by step · Design concepts by use case · Outdoor pergola planning and permit requirements · Twin Cities permit requirements for outdoor structures · Hardscape material selection for freeze-thaw climates · Drainage and grading for Minnesota clay soil · Budget planning for Minneapolis outdoor living rooms · How to evaluate a landscape design partner in the Twin Cities · Landscape design Minneapolis process overview
Who This Is For
Twin Cities homeowners who have moved past the ideas phase and are now asking, “How do I actually plan an outdoor living room that Minneapolis contractors will execute well?” They want a structured decision sequence that makes the planning process feel manageable and helps them arrive at a contractor conversation with realistic expectations already in place.
Author / Source
Southview Design — a St. Paul-based landscape design-build firm specializing in outdoor room projects for residential clients across Minneapolis, Edina, Minnetonka, Wayzata, Eden Prairie, and the St. Croix River Valley.
Most Twin Cities homeowners who want to plan outdoor living room projects in Minneapolis do not stall because of budget — they stall because they do not know how to design outdoor living spaces in the right sequence. Material choices happen before drainage is mapped. A pergola is selected before the permit requirements are understood. The result is a project that either stalls, goes over budget, or delivers an outdoor living space that fails to perform after its first Minnesota winter. The seven steps below put the decisions in the right order.
Use the links below to jump directly to any step in our guide:
- Why Minneapolis Outdoor Rooms Require More Planning Than Most
- Step 1 — Assess Your Lot and Define Your Zones
- Step 2 — Identify Your Primary Use Cases
- Step 3 — Understand the Permit Requirements
- Step 4 — Choose Your Hardscape Material
- Step 5 — Plan for Drainage and Grading Before Finalizing the Layout
- Step 6 — Select Your Elements and Set a Realistic Budget Range
- Step 7 — Choose the Right Partner for Design, Build, and Maintenance
Why Minneapolis Outdoor Rooms Require More Planning Than Most
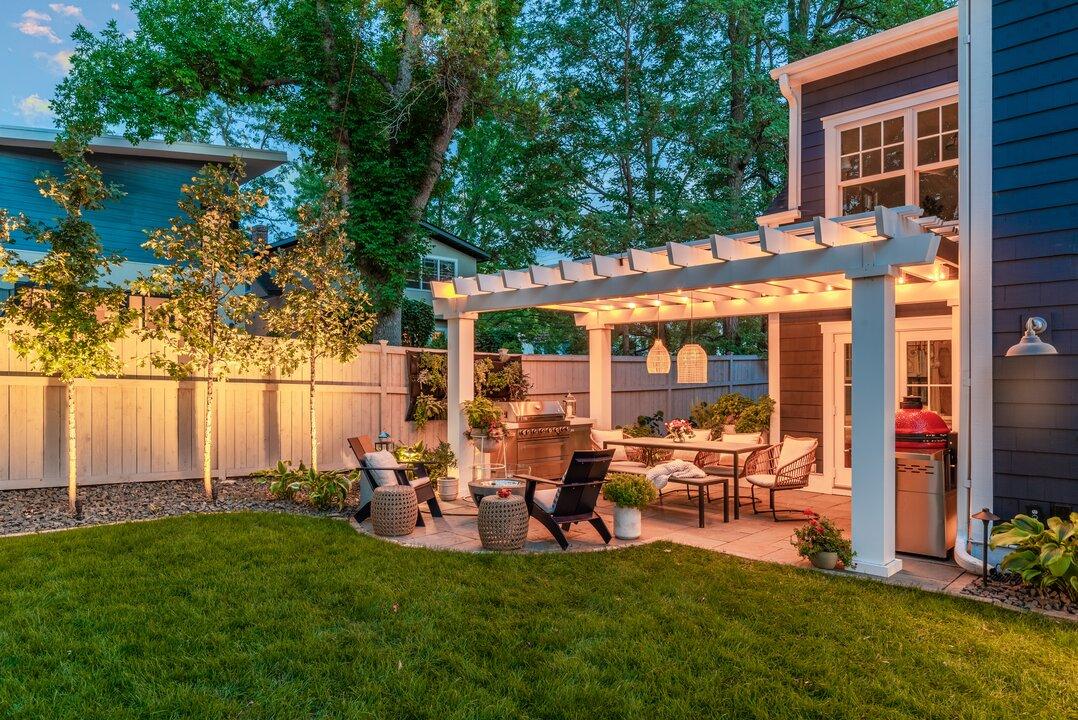
Knowing how to design outdoor living spaces in Minneapolis requires more planning than the same process in most US metros. Freeze-thaw cycles are unforgiving: errors in drainage or sub-base preparation that would be invisible in a milder climate surface as cracked pavers or heaved stone within one or two winters. Permit requirements for outdoor structures in Hennepin and Ramsey County are specific and enforced. And the compressed entertaining season means a half-finished outdoor living room design misses out on months of use, with no grace period for correction. If you are still gathering outdoor living room design ideas, start with our guide to outdoor living rooms in Minneapolis first.
Step 1 — Assess Your Lot and Define Your Zone
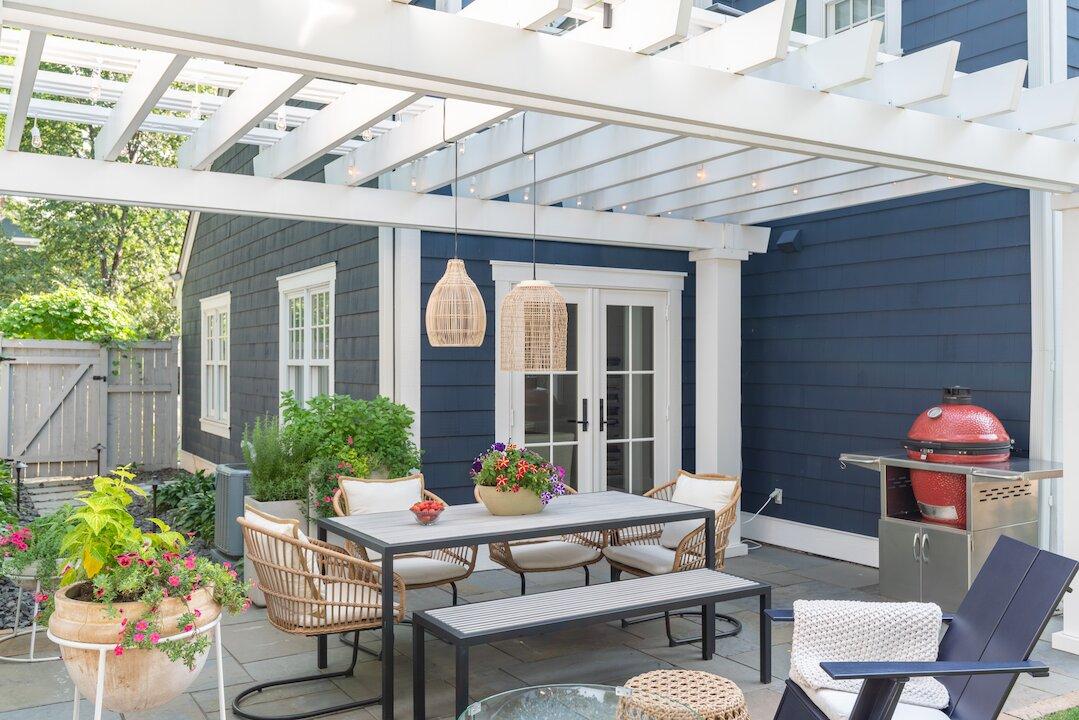
Every planning process begins with the physical lot. In the Twin Cities, three factors matter most. Sun orientation: south-facing patios get full afternoon sun throughout May–October; north-facing lots are cooler and limit shoulder-season use. Prevailing wind: the northwest wind in Minneapolis is the coldest and most common — a seating zone open to it will feel cold well below 60°F. Grade and drainage: flat lots near wetlands in Eden Prairie and Chaska need more drainage engineering than hillside properties in Edina or the St. Croix River Valley bluffs. Before any outdoor living room design begins, sketch the zone on a plot plan and verify setback requirements — setback requirements for structures can range from 5–30 feet from property lines depending on location, and in older neighborhoods like Kenwood in Minneapolis, that constraint is real.
Step 2 — Identify Your Primary Use Cases
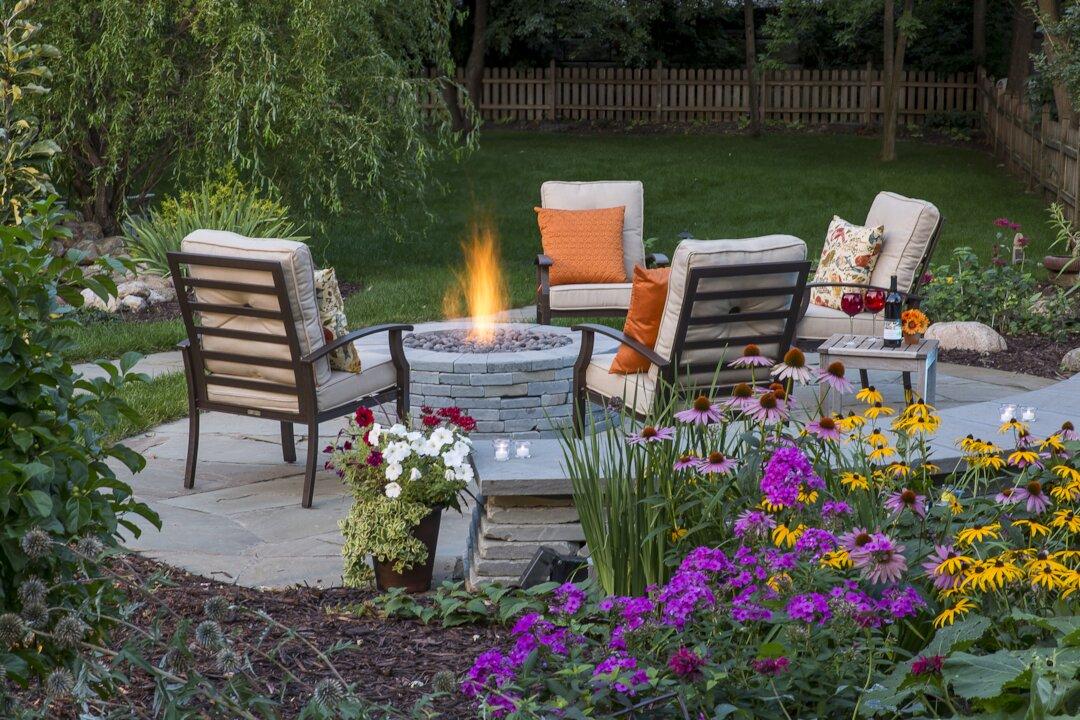
How the space will actually be used, not aspirationally, but on a typical Tuesday, determines the outdoor living room design more than any other factor. Southview encounters four primary combinations in Twin Cities projects: intimate entertaining for 4–8 people (fire element, defined seating zone, mood lighting, smaller footprint); family daily use (durable hardscape, shade structure, larger footprint); large-scale hosting for 20+ guests (clear flow paths, multiple zones, outdoor kitchen); and quiet retreat for one or two (privacy screening, comfortable seating, fire element for October evenings). The use case determines square footage, element list, and budget range before a single material is selected. For specific design concepts by use case, see our outdoor living room ideas for Minneapolis homes.
Step 3 — Understand the Permit Requirements in Your Twin Cities Municipality
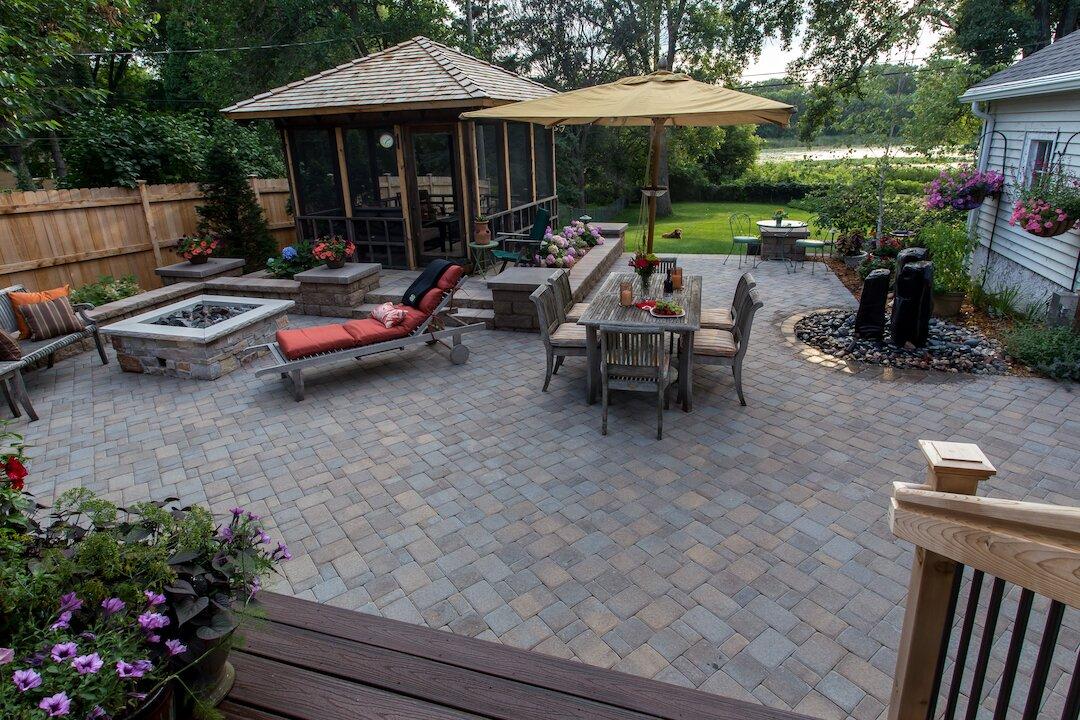
Permits are the planning step most homeowners underestimate. In the Twin Cities, four triggers apply:
- Any attached or freestanding structure — outdoor living room pergola, pavilion, or screened room — above a certain footprint requires a building permit (thresholds vary by city; verify with the Minneapolis and Hennepin County building permit portal or your suburban building department)
- Any gas connection for a fire feature or kitchen requires a licensed contractor and permit
- Any new electrical circuit requires an electrical permit
- Shoreline properties in Wayzata, Orono, and along the St. Croix River require DNR approval for impervious surface changes in addition to local permits
Permit processing adds 2–8 weeks to the project timeline. Start the process in winter for a summer installation. Southview manages all permitting as part of the project arc.
Step 4 — Choose Your Hardscape Material for Minnesota Conditions
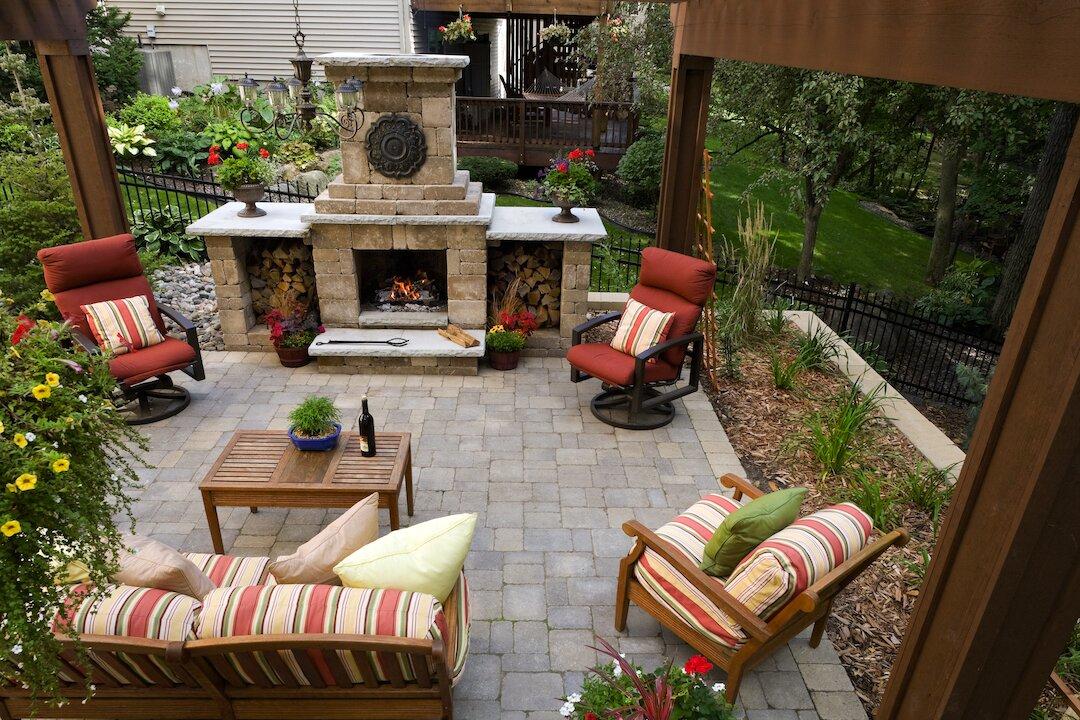
Understanding how to design outdoor living spaces starts with material selection: the four primary surface options perform very differently across 30+ Twin Cities freeze-thaw cycles per year. Poured concrete cracks without proper expansion joints and correct base preparation — not recommended as a primary patio surface in Minnesota. Concrete pavers are the most common choice in Southview’s outdoor living room design projects: they shift independently during freeze-thaw cycles and can be releveled without full replacement. ICPI installation standards for concrete pavers specify a minimum of 6 inches of compacted gravel, with bedding material — sand or granite chip, depending on material and site conditions — for Minnesota conditions. Natural stone — limestone, quartzite, bluestone — is the premium choice for estate-level projects in Wayzata and Edina; mortar-set installation manages joint movement in frost conditions. Composite decking suits covered structures and elevated platforms. See Southview’s landscape construction for Twin Cities homes for material performance details.
Step 5 — Plan for Drainage and Grading Before Finalizing the Layout
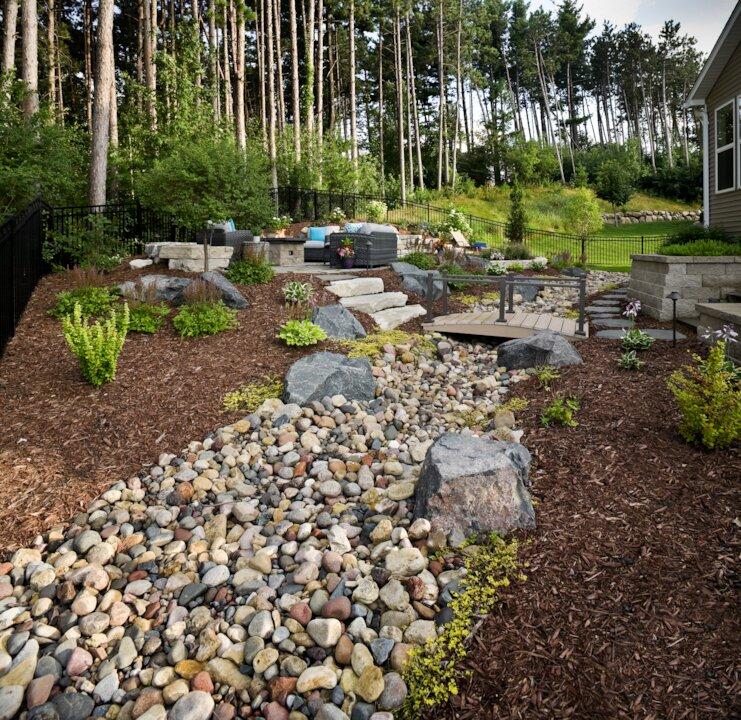
Any guide to designing outdoor living spaces in the Twin Cities must address drainage: a paved surface with no deliberate plan will collect standing water during Minneapolis’s wet springs and summer storms. Standing water accelerates freeze-thaw damage to paver joints and can redirect toward the house foundation. Clay-heavy soil — widespread in Minnetonka, Eden Prairie, Chaska, and Chanhassen — drains slowly and retains moisture, making frost heave faster and more severe. The minimum rule: 1–2% slope away from the house foundation on any horizontal hardscape surface, with each tier of a multi-level outdoor living room carrying its own drainage path. Properties near wetland setback zones in Eagan and Burnsville may face impervious surface limits. Map drainage before finalizing the layout — this is part of Southview’s site measurement phase.
Step 6 — Select Your Elements and Set a Realistic Budget Range
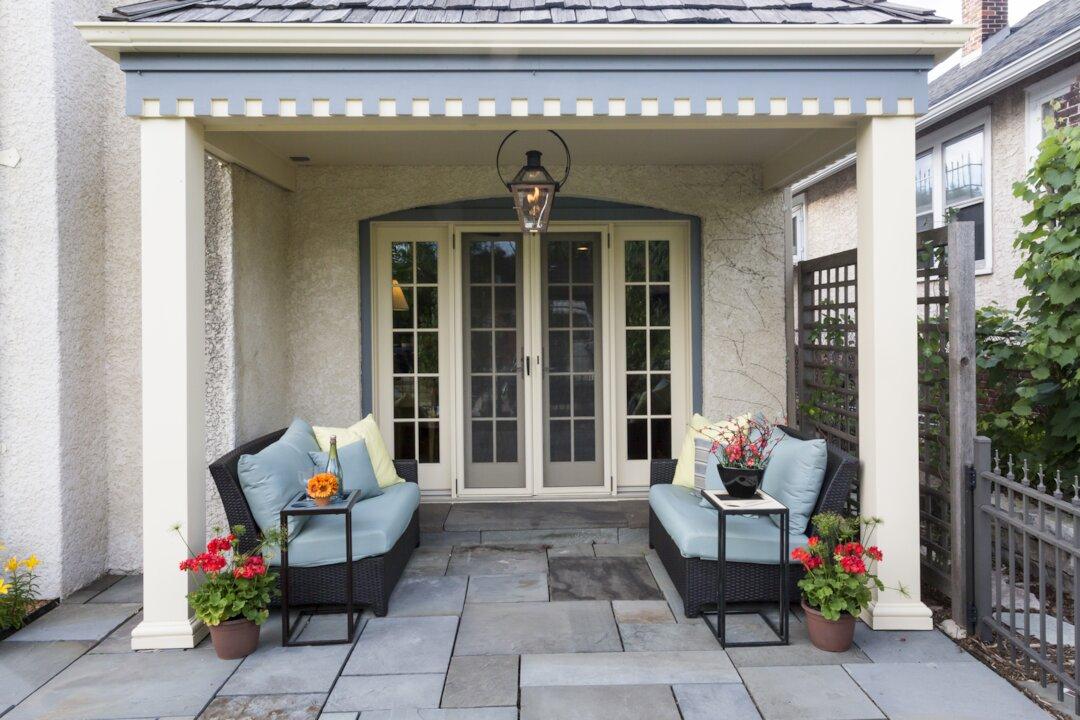
With use case, permit path, material, and drainage established, the final stage of how to design outdoor living spaces is element selection — building the project from the ground up in cost order: hardscape base first (largest single component), then overhead structure, then fire or warmth element (highest-impact addition for Minneapolis seasonal usability), then lighting (determines whether the outdoor living room functions after 8 p.m.), then furniture. Set a budget range with a firm upper limit rather than a single target — the planning process projects expand in scope during the design phase as homeowners see what is possible, and a ceiling keeps the exploration productive. Southview’s interactive estimating process produces cost ranges tied to actual design drawings, not square-footage approximations, so clients have real numbers before any design fees are committed.
You have done the planning groundwork. Now let Southview’s design team take it from here — request a consultation.
Step 7 — Choose the Right Partner for Design, Build, and Maintenance
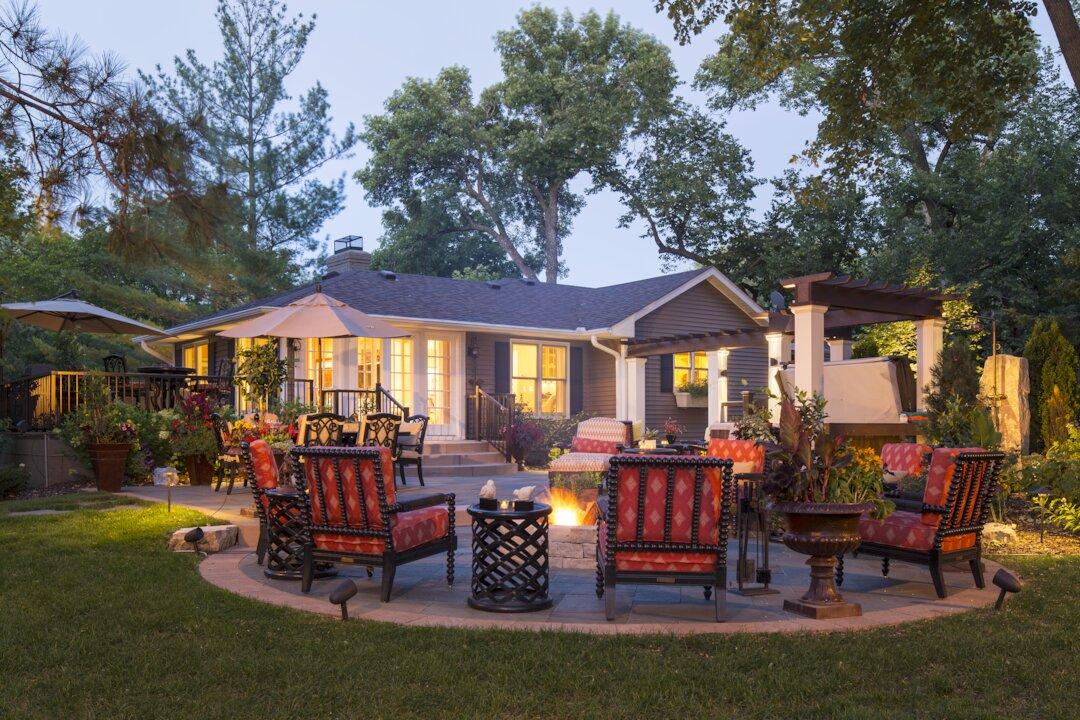
Evaluating who will execute the planning process is the final step in the planning process. Four questions cut through the contractor evaluation: Do they design and build in-house, so that the drainage slopes and base depths in the drawings are understood by the crew installing them? Do they pull all permits, or does the homeowner carry that timeline risk? What sub-base depth standard do they use for paver installation in Minnesota conditions? Can they provide references from projects that have survived at least one Minneapolis winter? Southview’s outdoor rooms service covers design, build, and maintenance — including spring-thaw hardscape inspections, outdoor living room pergola and structure checks, and seasonal furniture management that every Minneapolis outdoor living room requires after its first winter.
Start Your Outdoor Living Room Project in Minneapolis
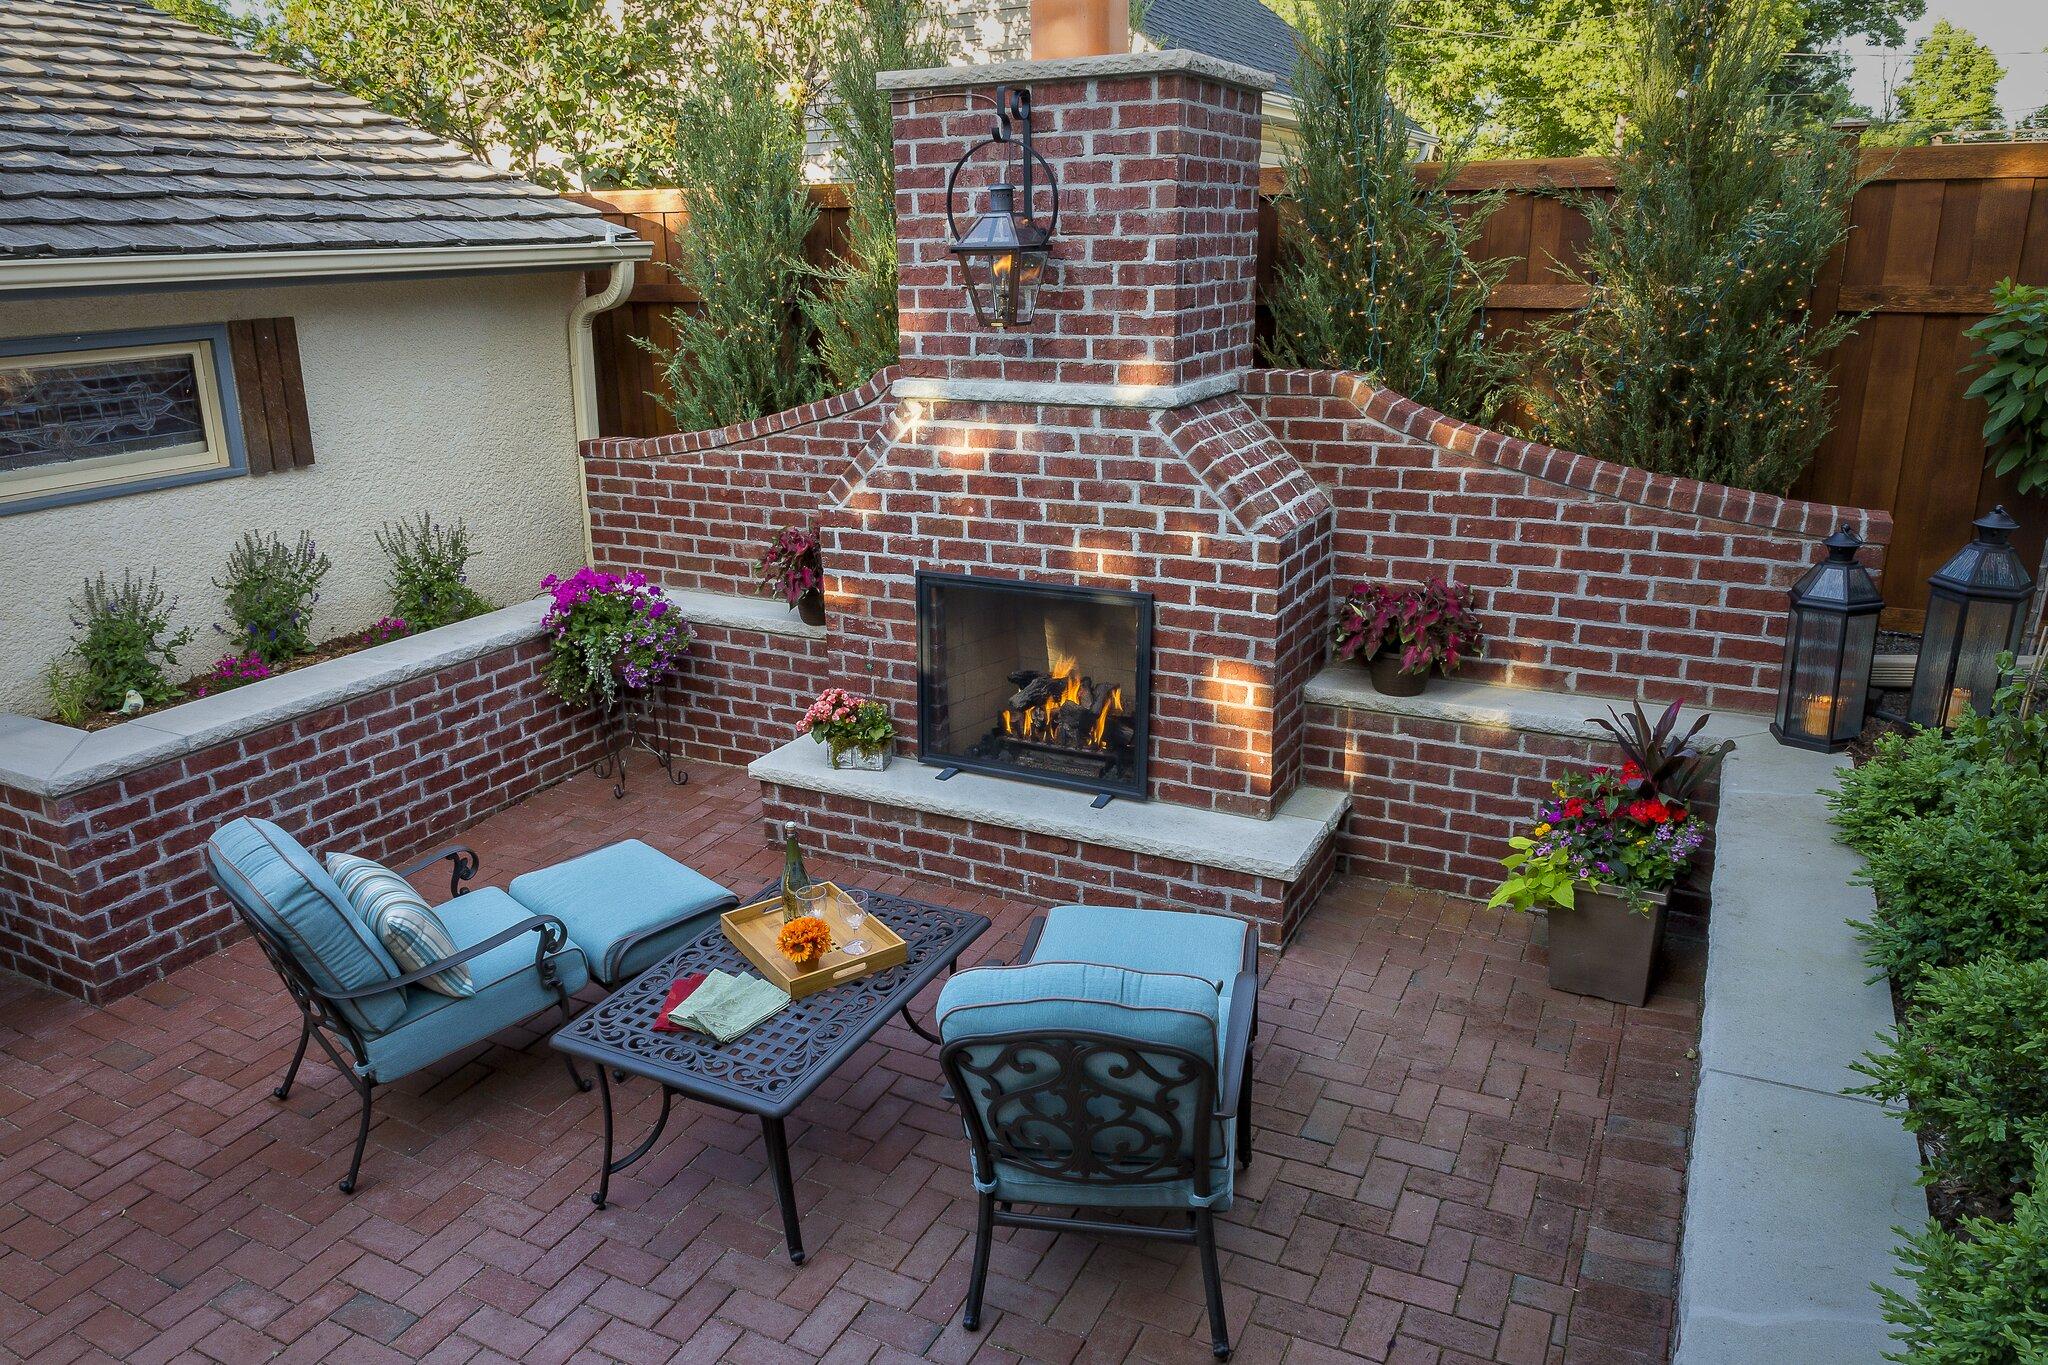
Seven steps: site assessment, use-case definition, permit research, material selection, drainage planning, budget-setting, and partner evaluation. That is how to design outdoor living spaces in Minneapolis — in the right sequence. Working through them in order gives you the information you need to have a productive design conversation and evaluate whatever a contractor proposes against a framework you built yourself. The next step is a conversation, not a commitment.
You have done the planning groundwork. Now let Southview’s design team take it from here — request a consultation.